THE GLASS and BOTTLE
First i use the CREATE a SHAPE/ LINE tool to draw the profile then to create the object out of a line/profile i add a LATHE modifier (same done for chandelier, bowl, table and bottle).
How from the vertex I got to the actual profile: one can easily modify the vertexes in compliance with the object, by right clicking on the selected object one gets all the possible options like move, transform, rotate, smooth etc.: using the SMOOTH or the CORNER tools to characterise the vertexes (is it rounded or edged) and using other comands like MOVE or ROTATE to create a final profile.

to smooth the corners i use the smooth tool on right click


on LATHE i accessed the axes to translate and complete the form.
before adding the lathe i went to HIERARCHY – AFFECT PIVOTS ONLY – so that when i added lathe, i didn’t have to change the axes.
i also increased the segment to set a smoother shape and to add internal shades i added SHELL modifier and lingered with Inner and Outer Amount.
To add texture in MATERIAL EDITOR i used a RAYTRACE texture ’cause it calculates transparency and light better then other textures. I then altered transparency and light to give it a glass look and set specular and glossiness to get highlights.
the only additional thing tat makes the bottle slightly more complicated then the class it is that it has a label and therefore i had to create TWO SEPARATE LAYERS later GROUPED. basically polygons had to be selected and given their own ID.
the first is a screenshot to show the polygon selection but is not representative of final bottle, which is the one on the right.


in MATERIAL EDITOR, go to MULTI SUB OBJ and there set the number of materials and layers related to that object


THE ROOM
got the first draft of table with still life on but no textures or lights or final finish yet, it’s a start!
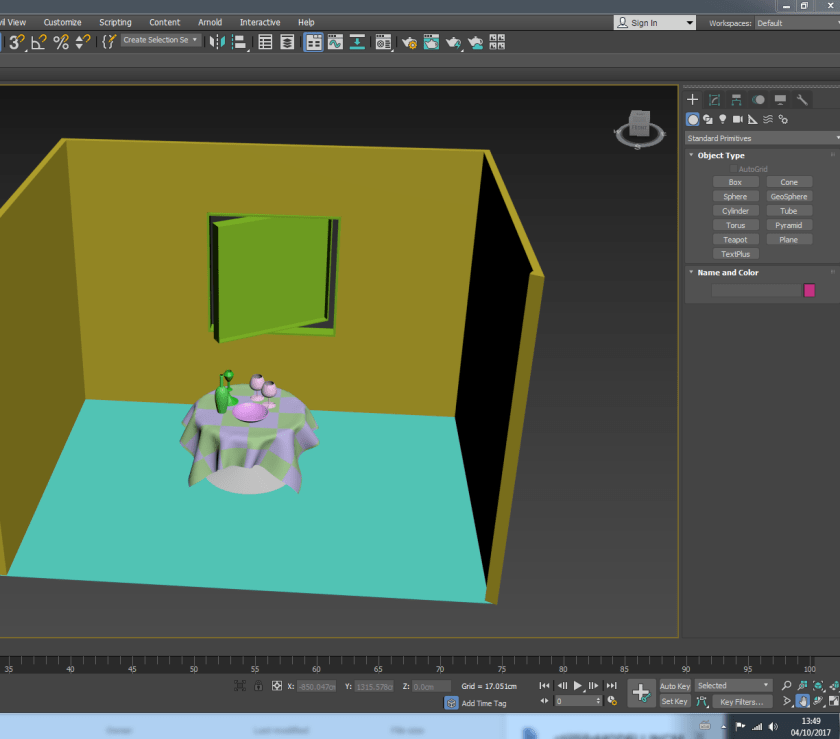
as said it’s about creating box or sphere or line -glass and bottle – extruding the polygon to get the width. the window and walls are AEC extended wall rather then standard object creation. the windows are linked in create to the wall and they form just one object.
here i have added the sub-object material to the window, one for the wood and one for the glass (raytrace). SUB-OBJECT command allows you to put more then one material on one object.
TABLE and CLOTH
the table is just a plane object with a standard map. so i created a plane. in order to be able to accommodate the complexity of the form (the cloth with its folds) i made more segments for the mesh and the folds. i then used a CLOTH SIMULATOR (modifier, cloth, simulate) and gravity to get the cloth to physically drop on the table which becomes the COLLISION OBJECT.

THE WINDOW CURTAINS, WIND AND VIEW
To give a realistic feel of an open window (even if ever so slightly) i had to think about curtain, their group (are they grouped to anything, do they need to), whether they are independent or hierarchical objects and if so, what do they depend from. so as you can see, the curtains are hooked to a wind angle that is set outside of the room.
THE FRUITS:
first of all i had to find web reference images for the apple, the banana and the oranges. i imported those images into the 3dsmax file and created shapes with the same ratio.
for the banana i started by going into STANDARD PRIMITIVES and created a cylinder there with high of 1 and sides of 5.
the process used to make the banana is EDGE MODELLING; convert the object to EDITABLE POLY, delete the top face (so i can access the edges of the object and select them), transformed vertexes to comply to reference image. i had to also select and extrude for the banana a polygon to represent the stem. i gave it a ID2 to accommodate the subobject.

i used the SUBDIV MODIFIER to smooth and make the object more realistic. pretty much same has been done for orange and apples.


for the apple specifically i used a box as a primitive shape to start from and for the orange specifically i had to add bumps to the texture to make that ‘cellulite-like’ look.


TEXTURES DETAILS:
Apart from the fruits, most objects are made in the same way,, by creative a line profile in create and then by modifying the poligons to make them editable, lathe them and smooth them.
only once you add the textures these objects actually acquire relevance and realism.
as i mentioned before i used SUBD UV-mapping and fiddled with the ANGLES to place them right for the object. for example the planks of the floor need to follow the lines horizontally, the skirting board plank was made CROPPING an image of three planks, the leaf for the apple is not a typical apple leaf but a leaf that i turned around to make it follow the grains of an apple leaf.
for the floor planks, again after turning them the right was to fit with the room layout i added also a bump map to give a sense of the wholes that naturally would occur between wooden planks.
CAMERA AND LIGHTS
one camera and one spotlight is what i have worked on in this section
first i set the camera ANGLE and its light
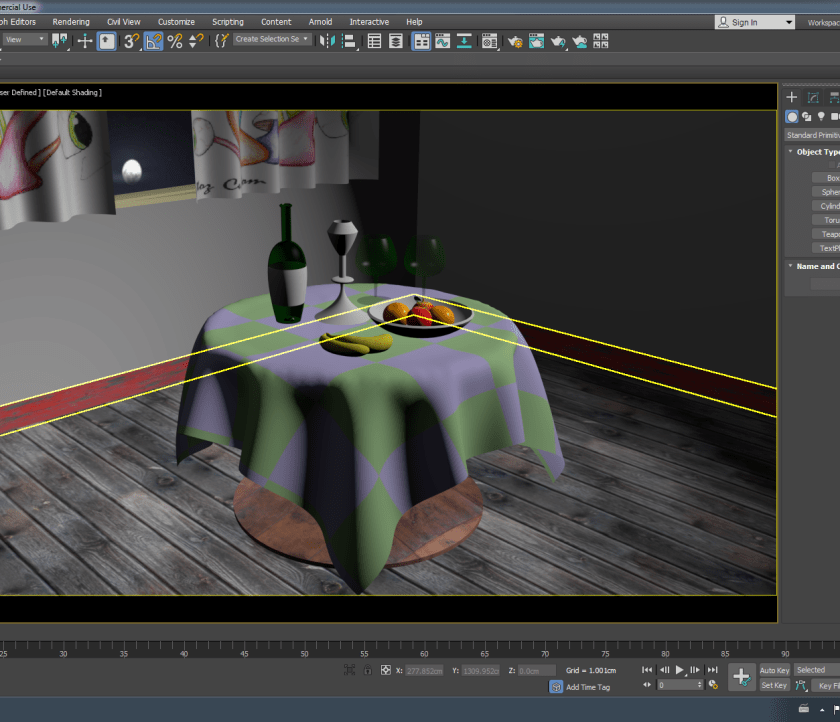
then i played a bit with LIGHT colours and shadows and warmth, like if i were doing a flame correction of a video. i loved it. the final RENDERING gave it the smooth and realistic look you can see with a proper focus and objects definition.


then i played a bit more with camera angles and lights by ADDING a CAMERA2 and LIGHT2, but i didn’t have them both on in the final rendering, just one at a time to see the different effects.


here you can see my CAMERA 2 LIGHT 2 trial of rendering.


if i had more time i would have loved to play more with the camera angles, lights and ‘flame’ effects.
here is the FINAL RENDERING with CAM1LIGHT1 on with two different aspect ratio, second one works better as it gives more to the camera and the viewer.


